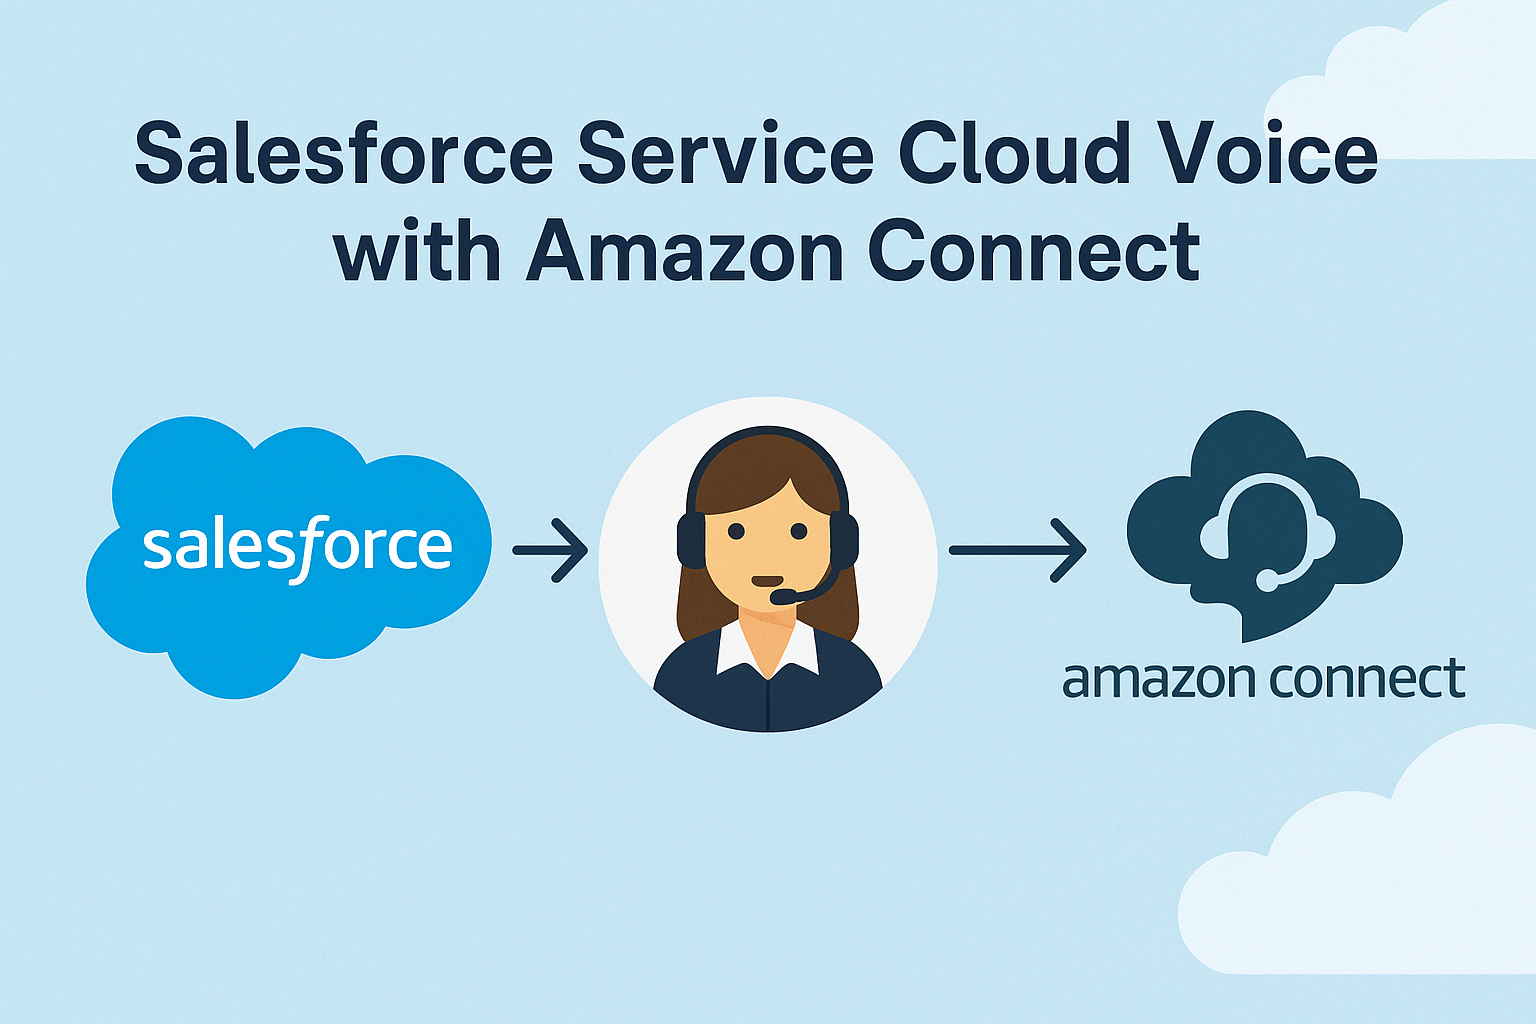
Are you looking to seamlessly integrate Amazon Connect with Salesforce Service Cloud Voice? This guide walks you through each configuration step to get your contact center up and running with real-time voice capabilities directly within Salesforce.
✅ Prerequisites
Before you begin, make sure you have the necessary admin permissions in Salesforce and access to an Amazon Web Services (AWS) account.
🔧 Step-by-Step Configuration
Step 1: Enable My Domain
Go to Setup → My Domain and ensure it is enabled and deployed to users. This is essential for Lightning Experience and other identity-related features.
Step 2: Enable Identity Provider
Navigate to Setup → Identity Provider and click Enable Identity Provider. This enables Salesforce to act as an identity provider for Amazon Connect.
Step 3: Enable Omni-Channel
Head to Setup → Omni-Channel Settings, and enable Omni-Channel. This is required for routing voice interactions to agents.
Step 4: Create Presence Status
Define custom Presence Statuses (like Available, Away, On Call) under Presence Configurations to represent agent availability.
Step 5: Assign Presence Status to Profiles
Go to Setup → Profiles, edit the relevant profile, and assign the appropriate Presence Status under Omni-Channel settings.
Step 6: Enable Service Cloud Voice
In Salesforce Setup, search for “Amazon Setup”. Select Enable Voice with Amazon Connect.
Step 7: Activate Amazon Connect Integration
Click Turn On Voice with Amazon Connect. This will start the Service Cloud Voice provisioning.
Step 8: Register Your Tax Number (US Only)
If you are setting this up from the United States, you’ll be prompted to enter your tax number for regulatory compliance.
Step 9: Assign Contact Center Permission Sets
Assign the following permission sets:
- Contact Center Admin
- Contact Center User
Only users with these permission sets will appear during contact center assignment.
Step 10: Create Your Contact Center
In Salesforce Setup, create your Contact Center:
- Enter a Label and API Name
- Select your region
- Assign an Administrator
Only users with the permission sets from Step 9 will be available for assignment.
Step 11: Configure Telephony Settings via Amazon Connect
- Go to Setup → Amazon Contact Centers, then click your contact center → Settings
- A new tab opens for Amazon Connect
- Go to the Channels tab → Phone Numbers
- Click Claim a Number (Select option as per your requirement)
- Country: US
- Channel Type: Voice
- Contact Flow: Sample SCV Inbound Flow (or your custom flow)
Step 12: Add Contact Center Channels
In Salesforce, assign Voice Channel to your contact center to allow interaction routing.
Step 13: Add Omni-Channel Utility to App
Go to App Manager → Edit your Lightning App, and add the Omni-Channel Utility Item so that agents can change their status and receive calls.
Step 14: Go Live – Test Inbound/Outbound Calls
Ensure your agent is online in Omni-Channel.
- For inbound calls, the Omni-Channel widget will blink and ring
- For outbound calls, agents can click-to-dial directly from the record page
🧠 Pro Tip
Want to customize call flows or integrate AI-powered voice transcription? Explore Amazon Connect Contact Flows and Einstein Conversation Insights for next-level enhancements.
Need help setting this up? Drop your questions in the comments or reach out for one-on-one consulting!